My name is Fred, and I am the Lead Photographer at Celadon Digital. I will take some time to bring you in on photography, particularly cocktail photography and the work we delivered for The Chic Bar. In the world of mixology, crafting the perfect cocktail is an art form in itself. Shout out to The Chic Bar for being such an artist – she’s I.N.C.R.E.D.I.B.L.E!
But what about capturing that artistry in a single photograph? Cocktail photography goes beyond just snapping a quick shot; it’s about evoking the essence of the drink and the experience it promises. I believe the photos captured this very essence. I’m also going to spend some time talking about the technical details (don’t get bored) of how exactly I captured some of these photos. Let me drop a list of the gear used:
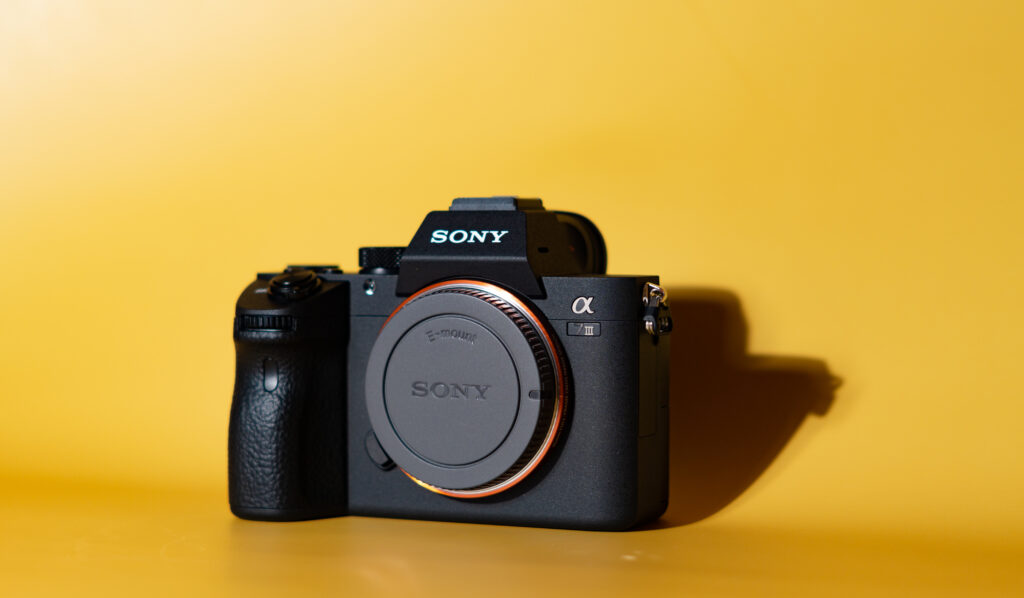
- Camera: Sony a7 III
- Lenses: Sony Vario-Tessar T* FE 24-70mm f/4, Sony FE 50mm f/1.8
- Lighting: Godox TT520 II Speedlight, 90cm Octagon Softbox

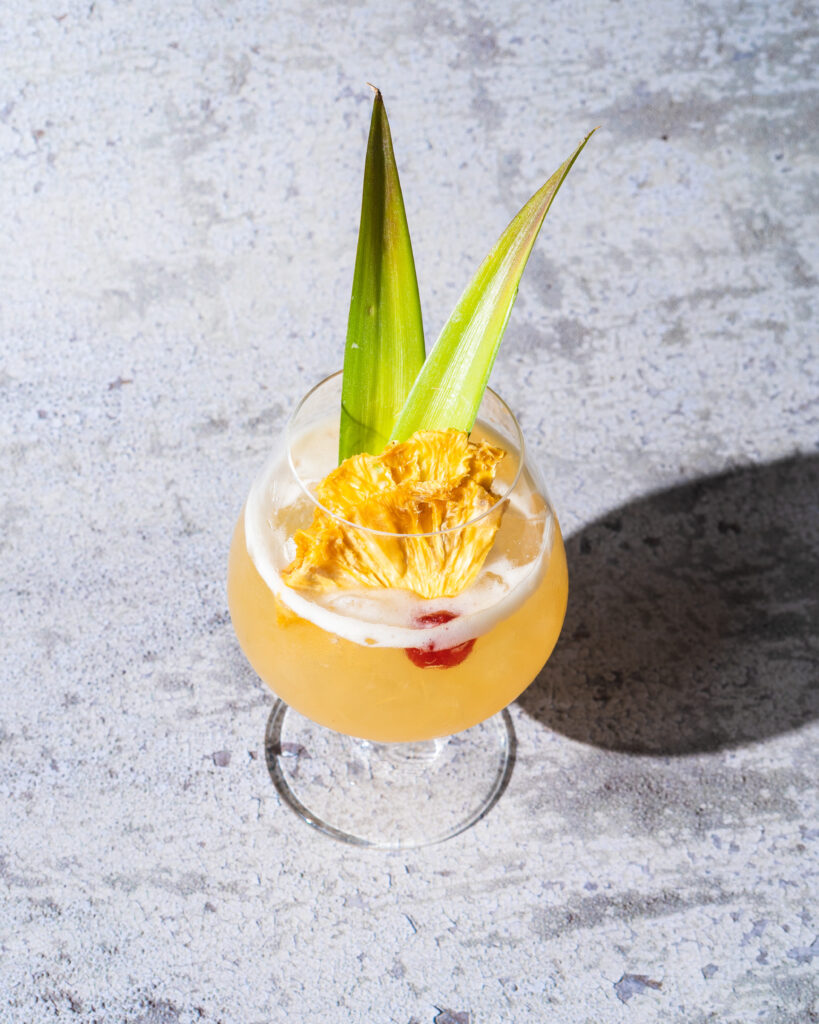
Right, let’s get talking. Like any form of photography, lighting is paramount. Cocktails come to life under the right lighting conditions. For a lot of the shots, I preferred to use harsh light to achieve hard shadows and reflections.
Why?
Because I quite like that 😁. Some shots had your usual diffused light and that seemed to work better.

Styling and composition are key! A well-composed shot can make the difference between an ordinary snapshot and a compelling visual story. Pay attention to the placement of garnishes, the angle of the glass, and the background elements. Composition also meant I had to consider what type of background to use – and with this type of lighting. With the styling used across the different shots, I just went with what I thought looked good, and personally, I’m not mad at it. Other photos didn’t have any extravagant styling because I felt the natural look a bit more. In some cases, the styling of the cocktails alone was good enough to make the photo pop!
Side note: Incorporating complementary props can enhance the storytelling aspect of whatever you’re trying to capture. Vintage glassware, artisanal cocktail shakers, or even a hint of the ingredients used can add depth and context to the image. You’ll notice that we used so many of these as well as bottles of the main alcohol in the cocktails. *wink wink*
Details matter! You want people to see and taste the cocktails through your imagery. Zooming in on intricate details can create a sense of intimacy. Choosing an aperture that has less bokeh like f/8 – f/11 will allow you to capture more details even when you move closer to the cocktail glasses. Try and aim to showcase the condensation on the glass, the texture of the cocktail’s rim, or the delicate crystals of sugar on the edge. These close-ups invite viewers to savour the small elements that make the drink special. There was a good mix of all of these in the photos that were taken.

Post-processing (or editing) is the final touch in cocktail photography. Enhance colours, adjust exposure if you have to, and ensure that the image conveys the same mood and feeling as the actual drink. However, be cautious not to over-edit; the photo should still feel natural and appetizing. It should not look like you’re doing too much.
In the realm of cocktail photography, every image is an opportunity to celebrate the fusion of art, taste, and aesthetics. Just as a mixologist carefully crafts a cocktail, a photographer crafts an image that encapsulates the essence of that libation. So, the next time you’re about to savour a beautifully concocted cocktail, don’t forget to raise your camera alongside your glass. Cheers to preserving the artistry of mixology through the lens!
I hope you enjoyed reading this blog and the creative and technical process we went through to deliver the final images. If you have any questions, or if you’d like to reach out, my contact information is all down here. Cheers!
Photography by Celadon Digital:
Instagram: Celadon.Digital
Email: fred@celadondigital.net
Contact: +260979042653

